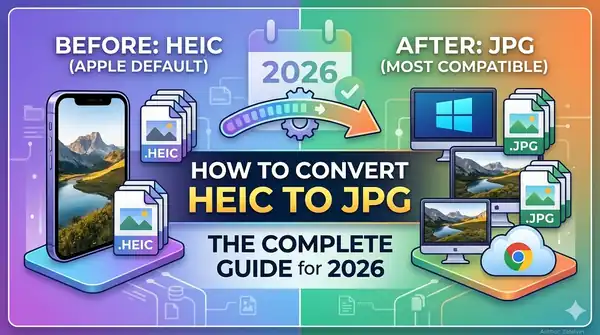
How to Convert HEIC to JPG: The Complete Guide for 2026
imagepixa Team
Image Processing Specialists
You took a photo on your iPhone, transferred it to your computer, and now you can't open it. The file ends in .heic and nothing seems to recognize it. Sound familiar? HEIC is Apple's default photo format, and while it's technically superior, it causes real compatibility headaches. Here's how to convert HEIC to JPG on every platform.
What Is HEIC?
HEIC stands for High Efficiency Image Container. It's Apple's implementation of the HEIF (High Efficiency Image Format) standard, which Apple adopted as the default camera format starting with iOS 11 in 2017.
HEIC uses advanced compression (based on the HEVC/H.265 video codec) that produces files roughly 50% smaller than JPG at the same visual quality. This means your iPhone can store twice as many photos in the same storage space.
HEIC also supports features that JPG cannot:
- 16-bit color depth (vs. JPG's 8-bit) for richer colors
- Transparency support (like PNG)
- Multiple images in a single file (Live Photos, burst sequences)
- Non-destructive edits stored within the file
Why HEIC Causes Compatibility Problems
Despite its technical advantages, HEIC has one major drawback: limited compatibility. Here's where you'll run into issues:
- Windows: Older versions of Windows 10 and some Windows 11 installations can't open HEIC without installing a codec extension from the Microsoft Store.
- Web browsers: Most browsers can display HEIC in 2026, but many web applications and CMS platforms (including WordPress) don't accept HEIC uploads.
- Social media: Many social platforms still prefer or require JPG/PNG uploads.
- Email: HEIC attachments may not display correctly for recipients on non-Apple devices.
- Older software: Photo editors, design tools, and document processors may not support HEIC natively.
Method 1: Change iPhone Camera Settings (Prevent HEIC)
The simplest approach is to stop your iPhone from shooting in HEIC altogether:
- Open Settings on your iPhone.
- Scroll down and tap Camera.
- Tap Formats.
- Select Most Compatible (instead of "High Efficiency").
This tells your iPhone to save photos as JPG going forward. The trade-off is larger file sizes — roughly double — which means less storage space per photo.
Auto-Convert When Transferring
If you want to keep shooting in HEIC (for the storage savings) but need JPGs when transferring:
- Go to Settings → Photos.
- Under "Transfer to Mac or PC," select Automatic.
This makes your iPhone automatically convert HEIC to JPG whenever you transfer photos to a non-Apple device via USB.
Method 2: Convert on Mac
macOS handles HEIC natively, making conversion straightforward:
Using Preview
- Open the HEIC file in Preview (double-click it).
- Go to File → Export.
- Choose JPEG from the Format dropdown.
- Adjust the quality slider (80% is a good balance).
- Click Save.
Batch Convert Multiple Files
- Select all HEIC files in Finder.
- Right-click and choose Quick Actions → Convert Image.
- Select JPEG as the format and choose your preferred size.
- Click Convert to JPEG.
Method 3: Convert on Windows
Using the Photos App
- If you can't open HEIC files, install the HEIF Image Extensions from the Microsoft Store (free).
- Open the HEIC file in the Photos app.
- Click the three-dot menu → Save as.
- Change the file type to .jpg and save.
Using Paint
- Open the HEIC file in Paint (requires HEIF codec installed).
- Go to File → Save as → JPEG picture.
HEIC vs JPG: Should You Keep Shooting in HEIC?
If you're an iPhone user wondering whether to switch to "Most Compatible" mode, here's the trade-off:
| Feature | HEIC | JPG |
|---|---|---|
| File Size | ~50% smaller | Larger |
| Quality | Better at same size | Good |
| Color Depth | 16-bit | 8-bit |
| Transparency | Yes | No |
| Compatibility | Limited | Universal |
| Web Use | Poor | Excellent |
Our recommendation: Keep shooting in HEIC for the storage savings and set your iPhone to auto-convert when transferring (Settings → Photos → Automatic). This gives you the best of both worlds.
After Converting: Optimize for the Web
Once your photos are in JPG format, they're ready for universal use. But if you're uploading them to a website or social media, take one more step — optimize them:
- Use the ImagePixa Image Resizer to resize photos to the exact dimensions you need.
- Use the Crop Tool to remove unnecessary parts of the image.
- Need to switch to PNG for transparency? Use the JPG to PNG Converter.
Conclusion
HEIC is a technically impressive format, but JPG remains the universal standard for compatibility. Whether you convert on your iPhone, Mac, or Windows PC, the process is quick and straightforward. For the best workflow, shoot in HEIC for storage savings and convert to JPG when you need to share or upload.
Once converted, remember to resize and optimize your images before uploading to the web — it makes a significant difference in page speed and quality.
Ready to optimize your images?
Resize your photos to the perfect dimensions instantly.